275.00

Life Time Use - One Year Update

25% Discount on Renewal

Important: This plugin is an add-on that requires the Edubooking system be installed and activated. 

Edubooking Outlook Calendar

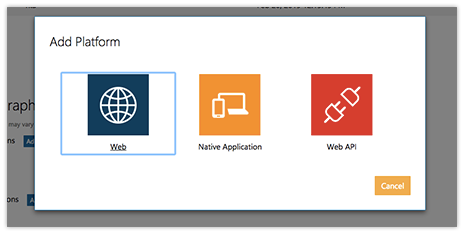
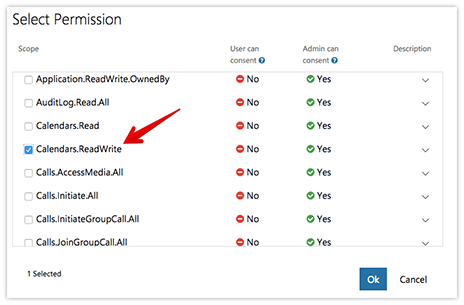
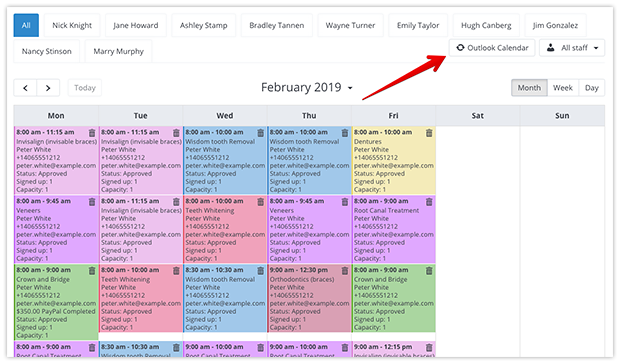
Keep your courses in sync between Edubooking Calendar and Outlook Calendar! Edubooking Outlook Calendar add-on enables a full bidirectional synchronization which makes it easy to schedule, view and manage courses booking in both calendars. Bookings made via Edubooking will be instantly copied to your Outlook Calendar and new events, updates and cancellations from Outlook Calendar will be immediately reflected in Edubooking.

Features:

  • Automatically sync all calendar data and any updates between two calendars;
  • Select from 3 sync modes to meet your requirements;
  • Specify how much of courses history you wish to sync;
  • Configure what kind of info will be displayed in Outlook Calendar event using different shortcodes for the event title, courses section and students section.

User Experience

Edubooking Outlook Calendar add-on allows you to get a real-time two-way synchronization between Edubooking Calendar and Outlook Calendar. With this connection, you can keep all your calendar data in sync to never miss an important bookingand avoid double bookings.

Setup and configuration

1. Purchase, and activate the Outlook Calendar add-on in Plugins.

2. Read carefully and follow the instructions in Settings > Outlook Calendar (admin area of your Edubooking) to set up the connection between two calendars.

Important: Your website must use HTTPS. The Outlook Calendar API will not work with your website if there is no valid SSL certificate installed on your web server.

1. Navigate to the Microsoft App Registration Portal and sign in with either a personal or work or school Microsoft account.

2. Choose to add an app. Enter a name for the app and choose to Create application. The registration page displays, listing the properties of your app.

3. Copy the Application ID. You’ll use it in the Application ID field.

4. Under Application Secrets, choose Generate New Password. Copy the app secret from the New password generated dialogue box before closing it.

You’ll use it in the Application secret field.

5. Under Platforms, choose Add Platform, and select Web.

In Redirect URLs enter the Redirect URI found on Settings > Outlook Calendar in Edubooking.

6. Under Microsoft Graph Permissions, choose to Add next to Delegated Permissions, and select calendars.ReadWrite is the Select Permission dialogue box. Close it by clicking Ok


7. Save the changes.

3. Go to instructors, select a instructor member, click  > Details. Click Connect.

4. Choose from 3 modes of Outlook Calendar synchronization.

One-way sync – all-new Courses created in Edubooking Calendar and any further changes will appear in Outlook Calendar.
Two-way front-end only – all updates in Edubooking will automatically appear in your Outlook Calendar. Events that were initially created in Outlook Calendar will not be copied and displayed in your Edubooking Calendar. Outlook Calendar events will be taken into account when offering available time slots to clients in your booking form. So if you have an event in Outlook Calendar, then the corresponding time slot won’t be available for booking because Edubooking will consider this time slot as busy.
Two-way sync – all new bookings created or updated in Edubooking Calendar will be automatically reflected in the Outlook Calendar, and vice versa.

5. If you selected Two-way sync mode, in the Sync courses history field, you can specify how many days of past calendar data you wish to sync. For example, if you enter 1 in this field, both calendars will sync courses history starting from yesterday.

Note: Initial sync may take a long time depending on the number of events to be synchronized.

Manual synchronization

You can force new sync by clicking on the Outlook Calendar button on the top right of the Edubooking Calendar.

6. Limit number of fetched events – allows you to limit the number of fetched events as too many events in Outlook calendar may lead to a lack of memory in PHP when Edubooking tries to fetch all events.

7. Edubooking allows you to set up the way your booking information will be displayed in Outlook Calendar.

Template for event title – choose details for Outlook Calendar event description that is created via Edubooking. Available codes are {service_name}, {staff_name} and {client_names}.

courses section – use available shortcodes for the courses-related information that will be displayed in Outlook Calendar.

Student section – use available shortcodes for the student-related information that will be displayed in Outlook Calendar.


Buy this plugin now

Please make sure to follow all the steps required in this transaction to make sure you perches will be secure and system setup environments are correct, will take care of that for FREE. We care about our clients business by avoiding errors.

Important step after perches

After payment approval,  you will need to send your WordPress login info for free install and setup:

1- Temporary admin user

2- Our system can be used for the multi-business industry so will need: Admin FTP Account (User & Password), for setup the industry luggage require, (Courses, Programs, Services, Appointments, Events, etc).

4- Make sure to remove the temporary admin user after we finish the setup.

5- your plugin will be licensed directly from the developers with 100% source validation plus risk-free by 14 days money back graduation.

Before purchases, please read our terms and conditions.